Blender 5 introduces significant enhancements to its sculpting tools in Blender ecosystem, making it one of the most powerful digital sculpting platforms available to 3D artists. Whether you’re creating organic characters, detailed architectural elements, or intricate product designs, mastering these sculpting tools in Blender 5 will elevate your workflow and artistic capabilities. This comprehensive guide walks you through the essential techniques, updated features, and professional workflows that will transform your approach to digital sculpting.
The sculpting workspace in Blender 5 has been redesigned with improved brush dynamics, better performance optimization, and enhanced integration with other modeling workflows. Understanding these tools is crucial for artists working on everything from game assets to film-quality characters, and knowing how to incorporate high-quality reference materials can significantly improve your results.
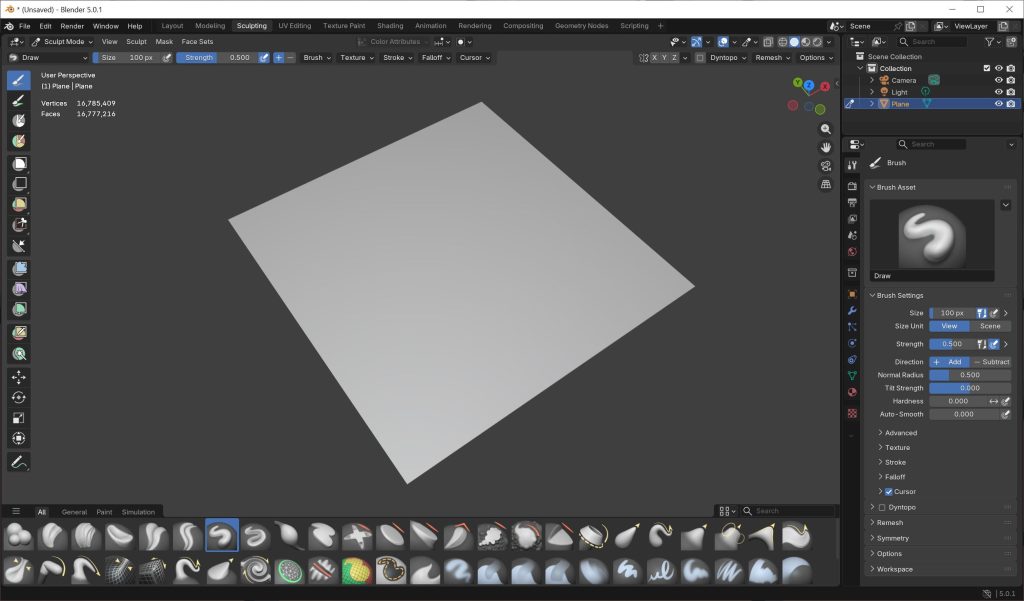
Setting Up Your Sculpting Environment
Before diving into the sculpting tools in Blender 5, proper workspace configuration is essential for an efficient workflow. Start by switching to the Sculpting workspace, which automatically configures the interface with the necessary panels and tools. The viewport should be set to Material Preview or Solid shading mode for optimal sculpting visibility.
Configure your tablet pressure sensitivity settings through Edit > Preferences > Input. Blender 5 offers improved pressure curve customization, allowing you to fine-tune how your stylus responds to different pressure levels. Set the pressure curve to match your natural drawing style – many artists prefer a slight S-curve that provides better control over subtle details.
Memory management is crucial when working with high-resolution sculpts. Navigate to Preferences > System and allocate sufficient Undo Steps (typically 32-64 for sculpting work) and increase the Memory Cache Limit to at least 2048MB for smooth performance. Enable GPU acceleration for sculpting operations to leverage your graphics card’s processing power.
Organize your reference materials effectively by using Blender’s Image Editor in a separate area or import reference images directly into the 3D viewport. When working with architectural or product designs, having access to high-quality reference textures and materials can provide valuable insight into surface details and material properties that inform your sculpting decisions.
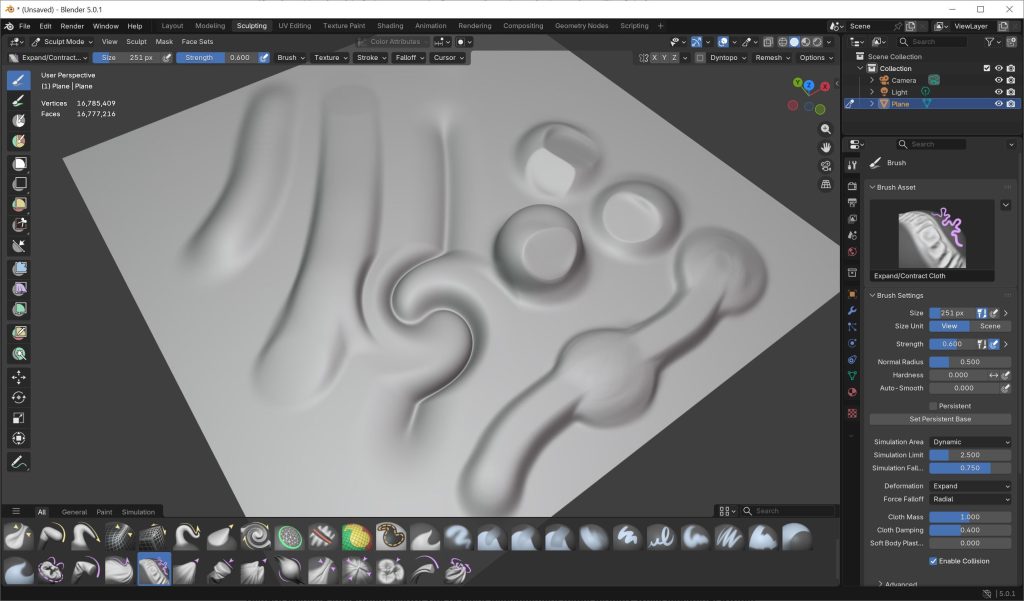
Essential Sculpting Brushes and Techniques
Blender 5’s sculpting arsenal includes over 30 specialized brushes, each designed for specific tasks. The Grab brush remains fundamental for large-form adjustments and pose modifications. Use low strength (0.3-0.5) with a large brush size for broad shape changes, and higher strength (0.7-1.0) with smaller brushes for localized adjustments. The new Elastic Deform brush in Blender 5 provides more realistic deformation by considering the surrounding geometry’s volume.
The Standard brush is your primary tool for adding volume and basic detailing. Configure it with Accumulate enabled and Smooth Stroke set to 0.7 for consistent strokes. For organic modeling, the Clay Strips brush excels at building up primary forms with natural-looking surface variation. Set the brush to use Screen projection mode for consistent results regardless of surface angle.
Detail work requires specialized approaches with the Crease and Pinch brushes. The enhanced Crease brush in Blender 5 now includes automatic smoothing options that prevent harsh artifacting. Use it with Subtract mode for creating sharp indentations like fabric seams or mechanical panel gaps. The Snake Hook brush provides powerful capabilities for creating appendages and extending geometry, particularly useful for character work and organic forms.
Surface finishing relies heavily on the Polish and Flatten brushes. Polish creates smooth, refined surfaces ideal for hard-surface elements, while Flatten helps establish planar surfaces for architectural details. When creating mechanical parts or architectural elements, reference materials from professional libraries can guide your surface treatment decisions and ensure realistic material properties.
Advanced Sculpting Workflows
Multi-resolution sculpting forms the backbone of professional workflows in Blender 5. Begin with a base mesh at subdivision level 0-2 for primary forms, then progressively increase subdivision levels for detail work. The Multiresolution modifier now supports up to 12 subdivision levels, providing over 67 million polygons for extreme detail work. Always work at the lowest subdivision level possible for each task to maintain performance and flexibility.
Dynamic topology (Dyntopo) has been significantly improved in Blender 5 with better edge flow and topology generation. Enable Dyntopo for initial concept sculpting and organic form exploration. Set the Detail Size to Relative mode with values between 8-15 for most work. Use Collapse Short Edges and Subdivide Collapse for the best topology generation. Remember to disable Dyntopo before applying Multiresolution modifiers to avoid conflicts.
Sculpting layers provide non-destructive workflow capabilities similar to Photoshop layers. Create separate layers for different detail passes: primary forms, secondary details, and surface textures. This approach allows you to adjust individual detail levels without affecting other elements. Use layer opacity controls to blend different detail levels and create subtle surface variations.
Retopology and Optimization
High-resolution sculpts require retopology for production use. Blender 5’s improved Quad Remesher provides automatic retopology with better edge flow preservation. Access it through Mesh > Remesh > Quad Remesher with Smooth Normals enabled for clean results. Target polygon counts of 5,000-15,000 for game assets and 20,000-50,000 for film work, depending on the asset’s importance and screen time.
Manual retopology using the Poly Build tool offers maximum control over edge flow. Enable X-Ray mode and Face Snapping to work efficiently over your sculpted mesh. Focus on maintaining good edge flow around deformation areas for character work, and ensure clean quad topology for subdivision surface compatibility.
Bake high-frequency details to normal maps using Blender’s Bake panel. Set up proper UV coordinates on your retopologized mesh, then bake Selected to Active with appropriate ray distances (typically 0.1-0.5 units depending on your model scale). Generate 2K or 4K normal maps for production assets, ensuring compatibility with game engines and rendering pipelines.
Professional Tips and Common Pitfalls
Performance optimization becomes critical when working with dense meshes. Enable Fast Navigate in Viewport Overlays to maintain smooth navigation during sculpting. Use MatCap shading with custom materials that highlight surface details effectively. The new Clay MatCap in Blender 5 provides excellent surface reading for form evaluation.
Avoid common sculpting mistakes that lead to poor results. Never sculpt on a mesh without sufficient geometry – always ensure your base mesh has enough subdivision levels for the detail you’re adding. Don’t rely solely on Dyntopo for final models; use it for exploration and concept work, then switch to Multiresolution for production sculpting.
Save incrementally and use Blender’s auto-save feature set to 5-minute intervals. Sculpting files can become large quickly, and crashes during intensive sculpting sessions can result in significant work loss. Consider using external backup solutions for important projects.
Brush organization improves workflow efficiency significantly. Create custom brush sets for different projects and save them as startup files. Group brushes by function: primary shaping, detail work, surface finishing, and specialized tools. Use quick access shortcuts (keyboard numbers 1-9) for your most frequently used brushes.
Integration with Production Pipelines
Export workflows from Blender 5 sculpting require careful consideration of file formats and optimization. For game development, export retopologized meshes as FBX with embedded textures, ensuring proper scale and orientation. Film and visualization workflows often require higher polygon counts exported as OBJ or Alembic formats for maximum compatibility.
When working with team-based projects, establish consistent naming conventions for sculpting assets. Use prefixes like “SCULPT_” for high-resolution models and “LP_” for low-polygon versions. This organization becomes crucial when managing large asset libraries and collaborating with other departments.
Quality control checkpoints should be established throughout your sculpting process. Review your work at 50%, 75%, and final completion stages, checking for proportion accuracy, detail distribution, and technical requirements. Use Blender’s viewport statistics to monitor polygon counts and ensure they meet project specifications.
Conclusion
Mastering sculpting tools in Blender 5 requires practice, patience, and understanding of both artistic principles and technical workflows. The enhanced brush dynamics, improved performance, and better integration with other Blender systems make it a formidable platform for professional digital sculpting. Success comes from combining these technical skills with strong foundational knowledge of form, anatomy, and material properties.
Remember that sculpting is just one part of the complete 3D production pipeline. Integrating your sculpted assets with high-quality materials, textures, and lighting setups creates the final professional results clients and audiences expect. Consider exploring comprehensive asset libraries and professional workflows through the CGAxis All-Access subscription to enhance your sculpting projects with production-ready materials and textures that complement your custom sculpted elements.
Continue developing your skills by challenging yourself with diverse projects, studying real-world references, and staying updated with the latest Blender developments. The sculpting tools in Blender 5 provide the foundation – your artistic vision and technical execution determine the final results.


