Introduction
Creating realistic materials is essential for achieving a high level of realism in your
3D projects. Physically-Based Rendering (PBR) textures play a significant role in
achieving this goal. In this ultimate guide to PBR textures, we will explore what PBR
is, its advantages, and how to effectively use PBR textures in your 3D projects.
What is Physically-Based Rendering (PBR)?
Physically-Based Rendering (PBR) is a rendering technique that calculates how
light interacts with materials using real-world physical properties. This approach
aims to create more accurate and believable materials, leading to higher-quality 3D
visuals. PBR textures are essential for creating materials that follow PBR principles.
Advantages of PBR Textures
- Consistency: PBR textures provide consistent results across different lighting
conditions and rendering engines. This means that your materials will look the
same no matter where they are used. - Realism: PBR textures are based on real-world physical properties, leading to
more realistic and believable materials. - Efficiency: Using PBR textures can save time by reducing the need for manual
adjustments and tweaking of materials.
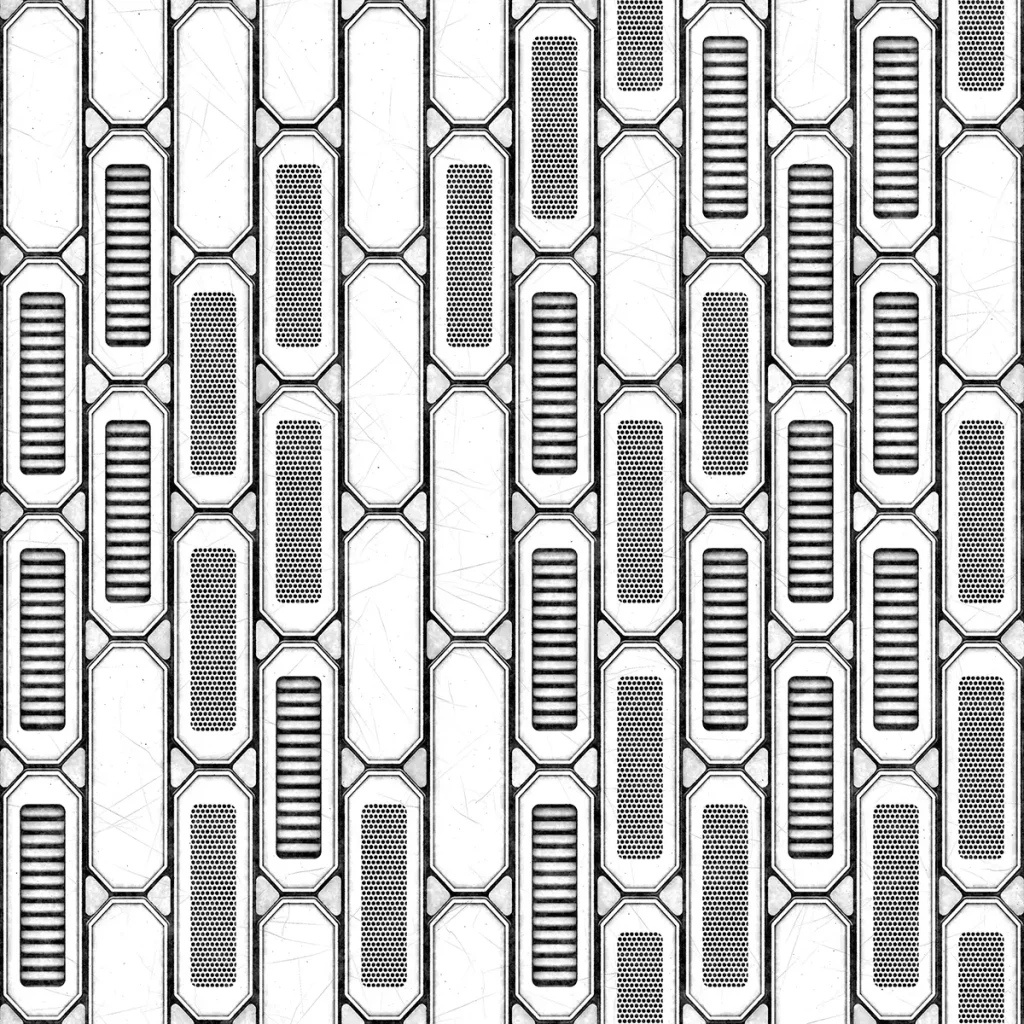
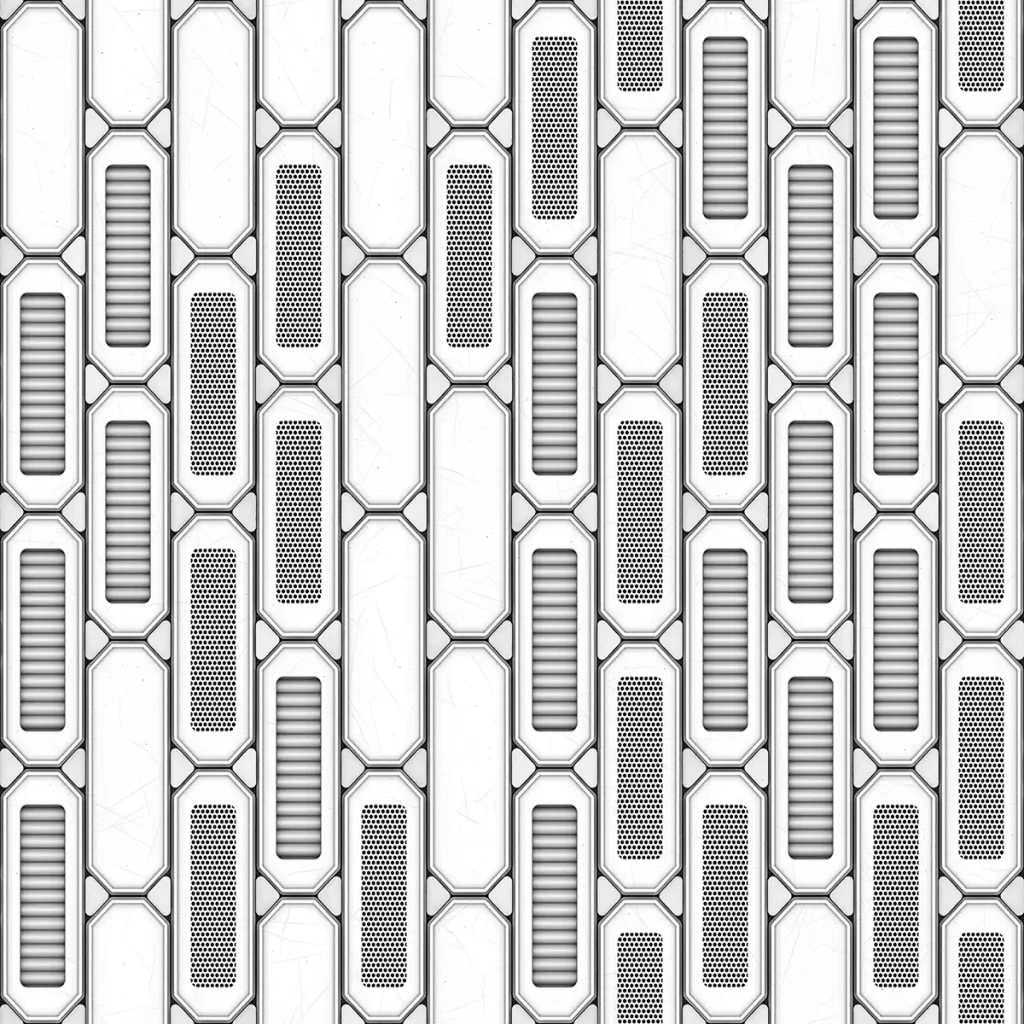
Understanding PBR Texture Maps
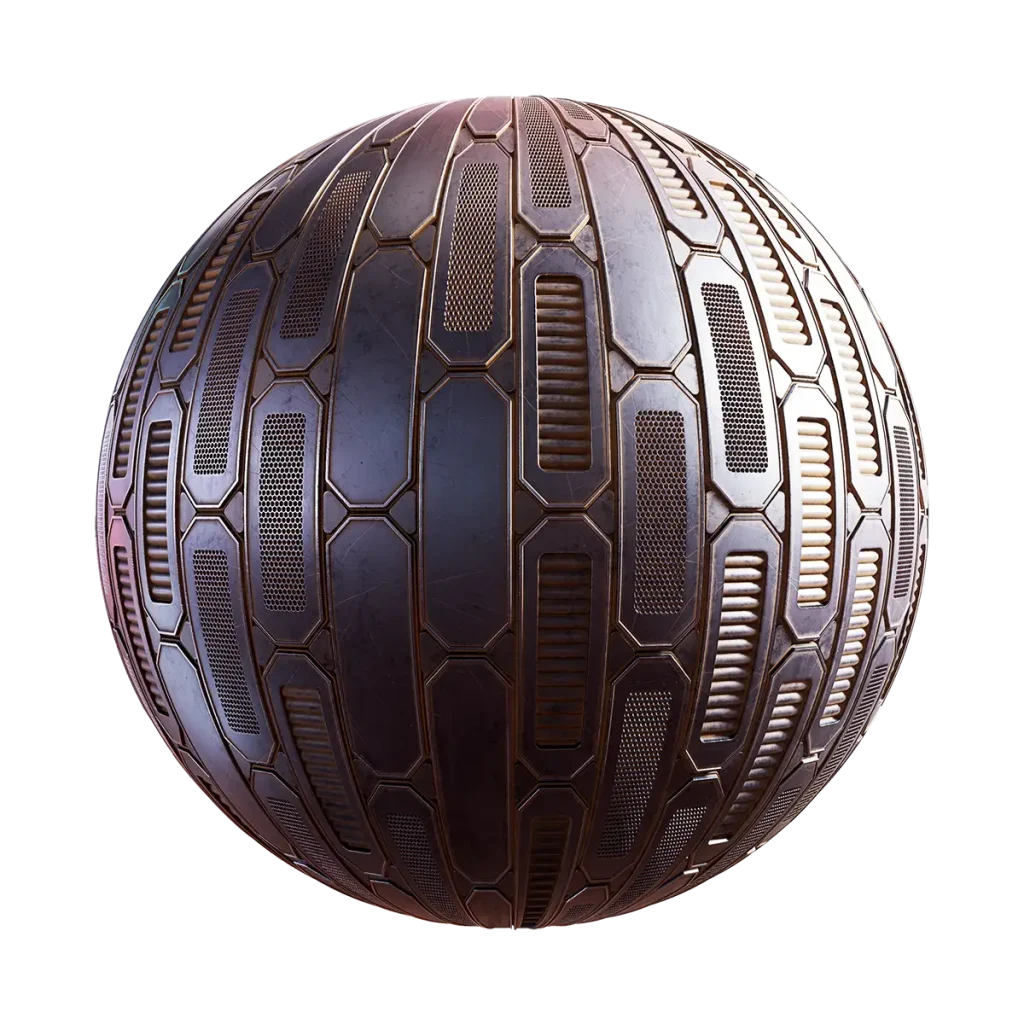
PBR textures consist of several maps, each responsible for a specific aspect of the
material. Here are the most common PBR texture maps:
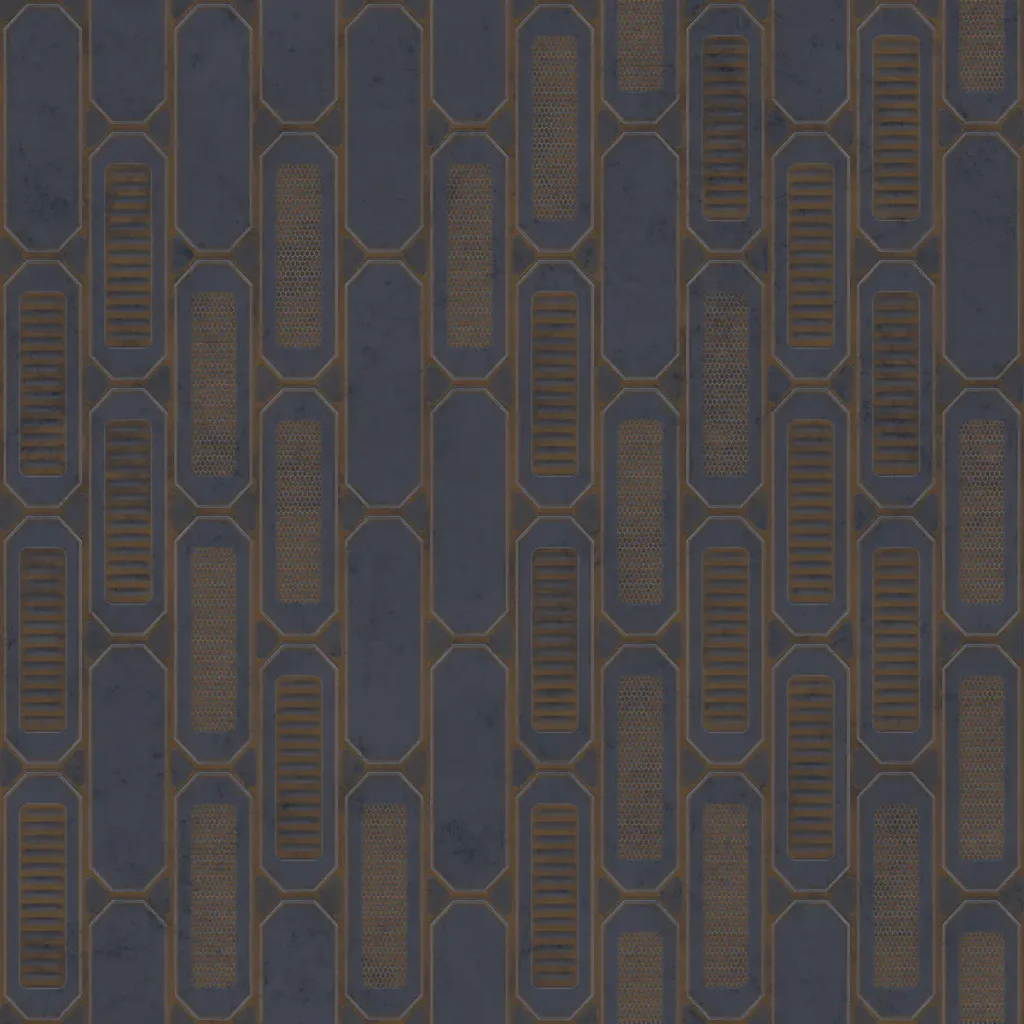
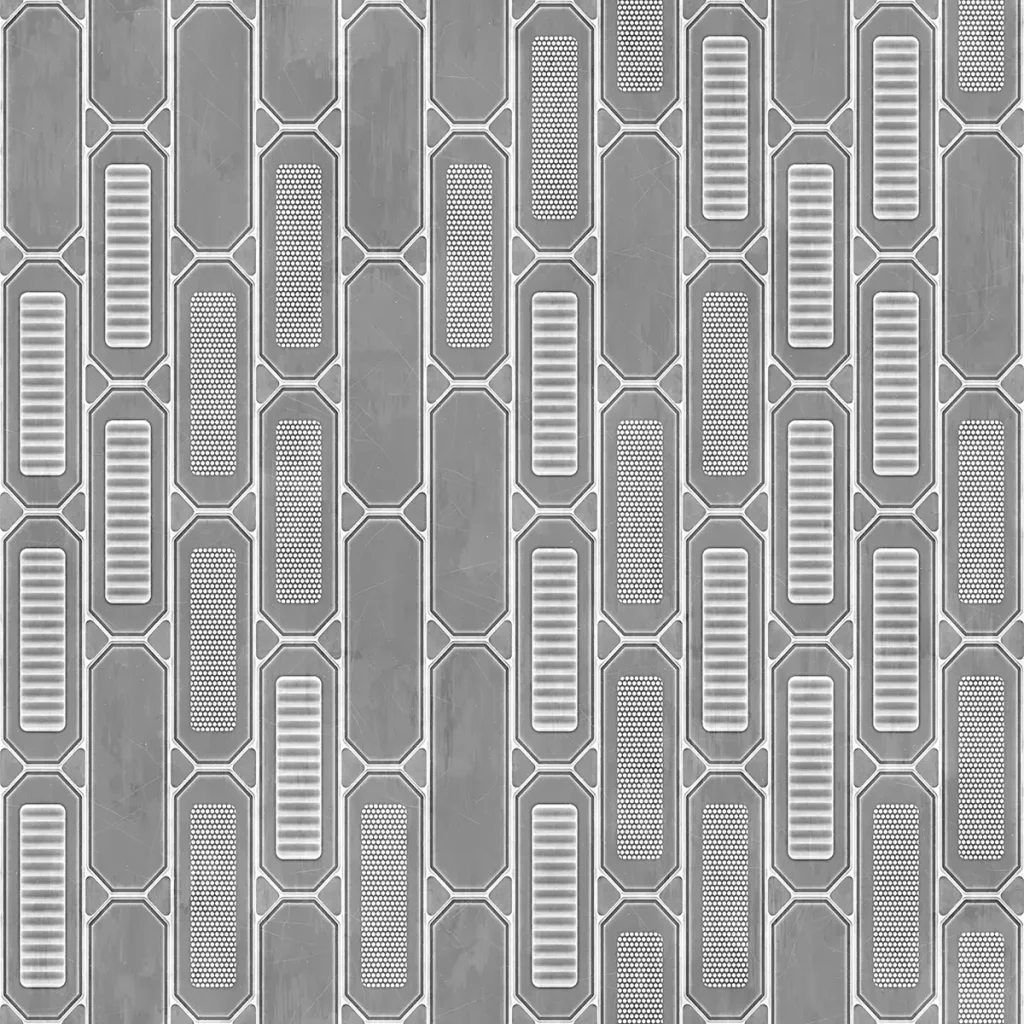
- Albedo (Base Color): This map defines the material’s base color or diffuse color.
It is responsible for the material’s general appearance. - Roughness: This map controls the microsurface of the material, affecting how
rough or smooth it appears. - Metallic: The metallic map determines which parts of the material are metallic
and which are non-metallic. White areas represent metallic parts, while black
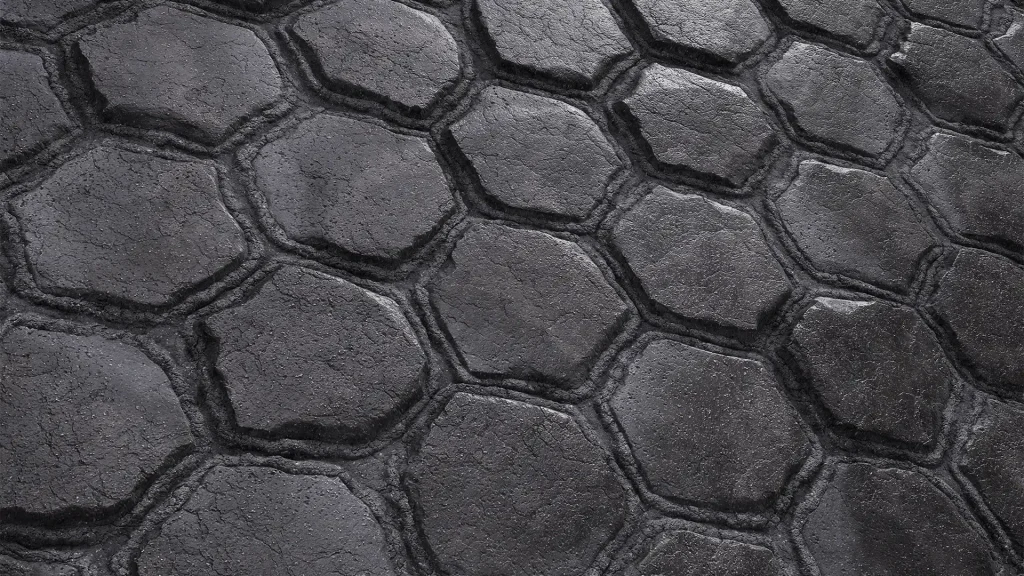
areas indicate non-metallic parts. - Normal: The normal map is responsible for adding fine details to the material,
such as bumps, ridges, and grooves, by altering the way light interacts with the
surface. - Ambient Occlusion: This map simulates the subtle shadows created by objects
and corners where light has a harder time reaching, adding depth to the
material. - Displacement (Height): The displacement map is used to create real geometric
details on the surface of the material by modifying its geometry based on the
map’s values. - Specular: In some PBR workflows, a specular map is used instead of a metallic
map to define the reflectivity of the material.


Using PBR Textures in Your 3D Projects
Choose the right PBR workflow: There are two main PBR workflows –
Metallic/Roughness and Specular/Glossiness. The metallic/roughness workflow is
more commonly used, but it’s essential to choose the workflow that best suits your
needs and the software you are using.
Mainly, if you use the first one you’ll need these essential maps: Color, Roughness, Metallic and Normal. In Specular/Glossiness however it would be: Color, Specular, Glossiness and Normal. Extra map such as Ambient Occlussion or Height can be added in both if needed.
Use high-quality texture maps: To achieve the best results, make sure you use high-quality, seamless PBR texture maps that have been created specifically for the PBR
workflow. Properly set up your 3D software: Ensure that your 3D software supports
PBR shading, and set up your materials accordingly. Different software may have
different settings, so it’s essential to familiarize yourself with your software’s PBR
implementation.
Also remember to check which version of the Normal Map your software uses: DirectX or OpenGL. If you are using textures form CGAxis, there is no problem – lately we are providing both version in each material. But if you have a map in format which your software doesn’t use, don’t worry. You can just simply flip the green channel of the image to change it from OpenGL and DirectX (and vice versa), because that’s the only difference between them.
Adjust texture maps for your specific needs: While PBR textures provide a great
starting point, you may need to make adjustments to fit your specific project. Don’t
hesitate to tweak the maps and settings to achieve the desired result. Test your
materials under different lighting conditions: To ensure your materials look great in
various environments, test them under different lighting setups to make sure they
react correctly to light.
Conclusion
PBR textures are a powerful tool for creating realistic materials in your 3D projects.
By understanding the different texture maps and implementing them correctly in
your chosen software, you can achieve stunning results with a high level of
consistency and believability. Remember to choose the right PBR workflow, use
high-quality texture maps, and test your materials under various lighting conditions
to ensure they look perfect in any scene.


